
Summary: Setting up your own custom domain allows you to brand your Ziflow account with your company's unique URL address.
Available for: on Ziflow Enterprise edition. Custom domains can only be configured by account administrators.
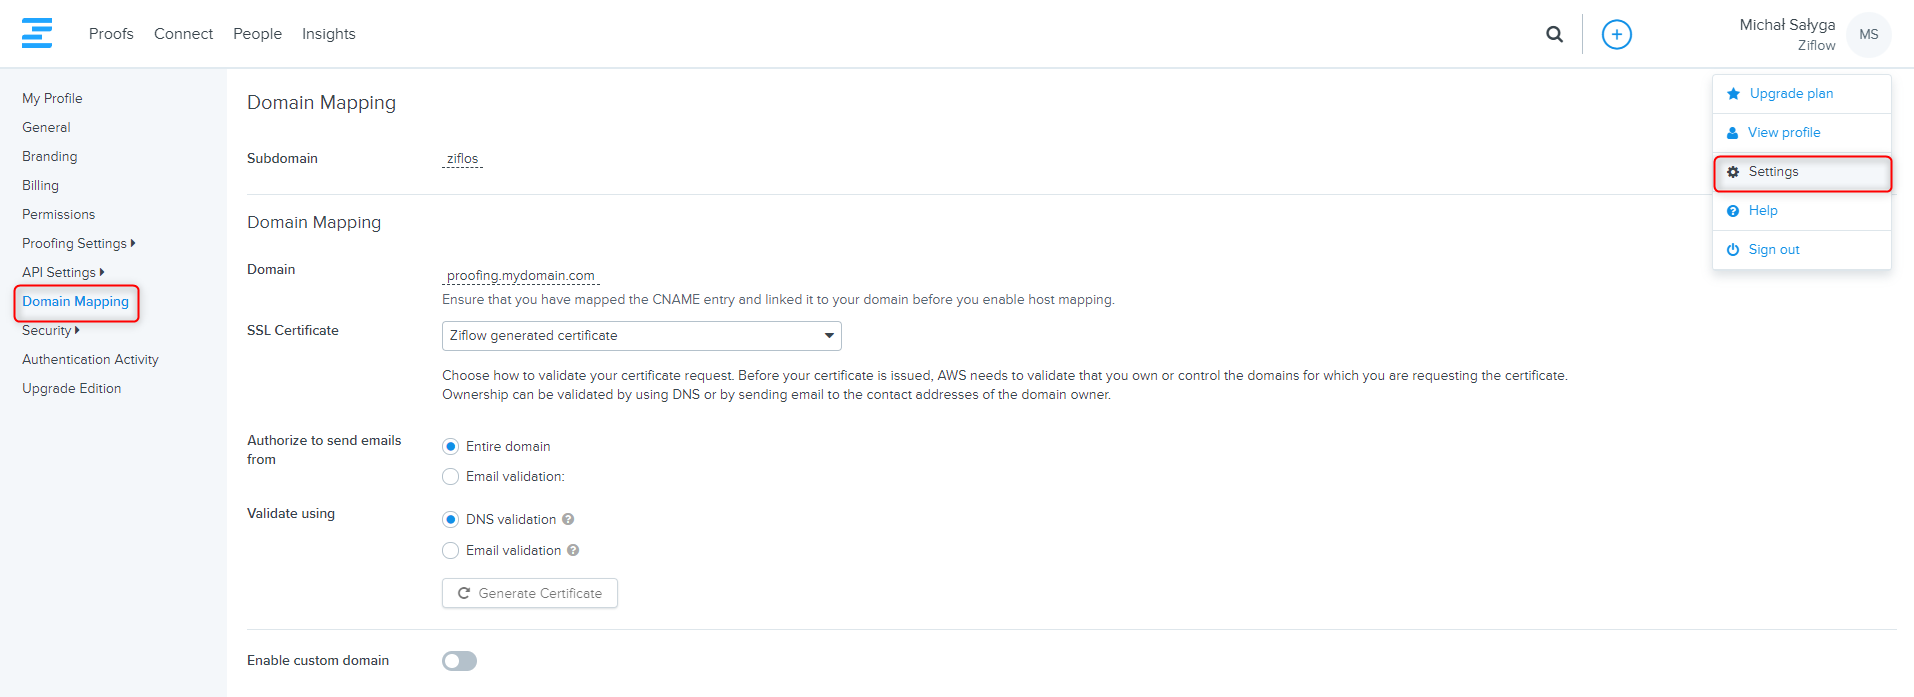
Where can I find my subdomain?
Inside the Settings tab, click on Domain mapping.
How does it work?
The Domain mapping process consists of several actions that need to be done before a custom domain is enabled.
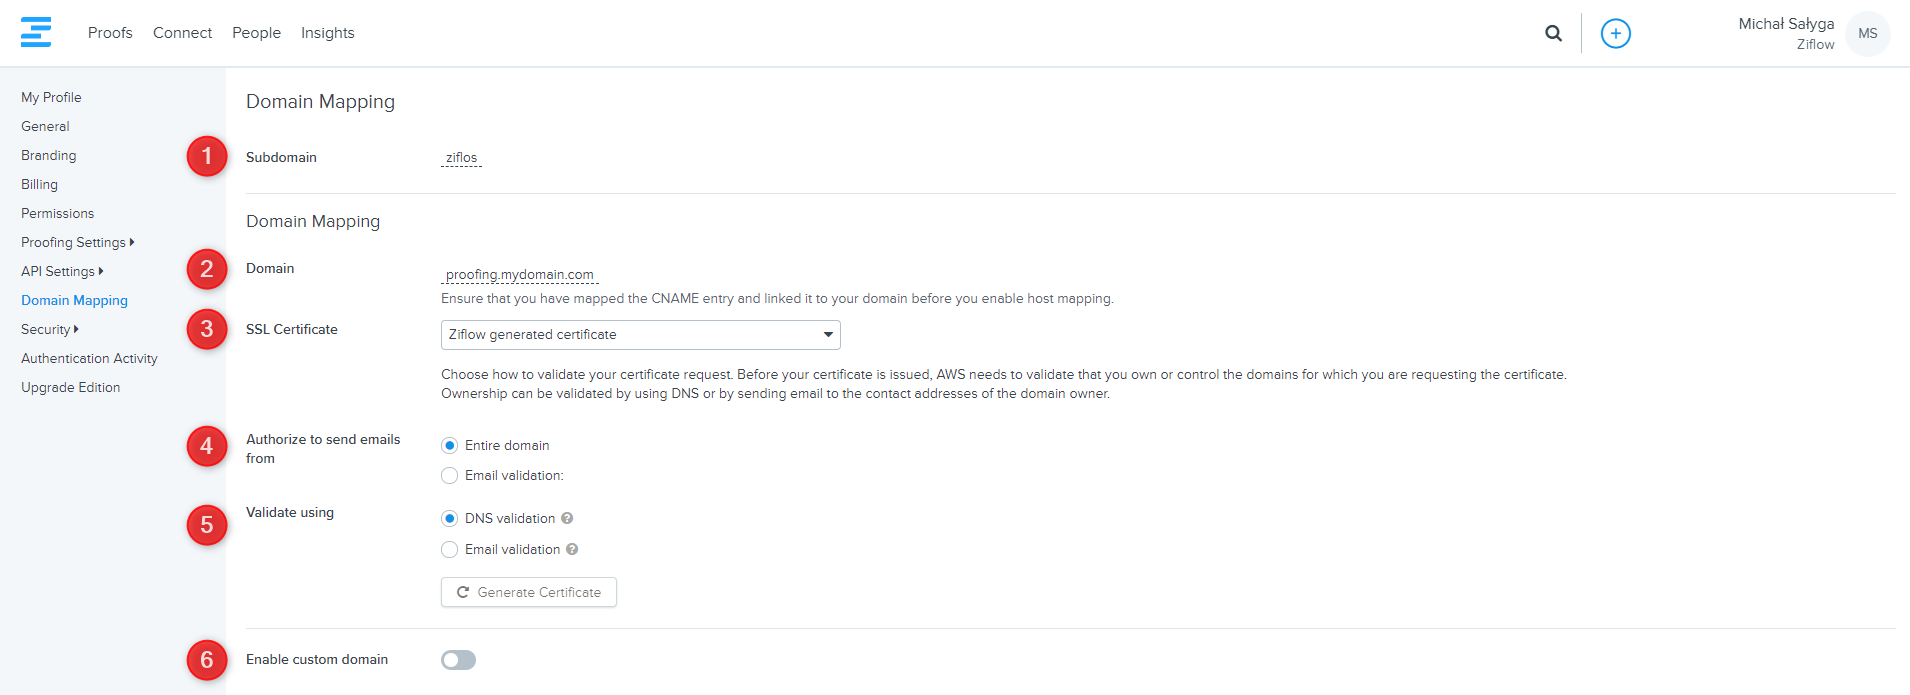
Subdomain - it is your currently set subdomain. You can rename it anytime you want, and it will always exist (even when a new domain is activated).
Domain - here, you can set the desired domain name. It must be a subdomain of a primary domain like “proofing.mydomain.com”, “proofing.mysubdomain.mydomain.com”.
SSL Certificate - the button that generates an AWS certificate with email verification. It also adds the domain to SES (Simple email service) which requires: DNS verification, DKIM DNS entries, and MX entries. At this point, you need to verify the domain (email sent to a hostmaster) and add entries for SES.
Validate using either DNS validation or Email validation - choose DNS validation if you have or can obtain permission to modify the DNS configuration for the domains in your certificate request. Please select email validation if you do not have permission or cannot obtain permission to modify the DNS configuration for the domains in your certificate request, an email will be sent to your host master's email.
Authorize to send emails from the entire domain or from validation email - when setting up your custom domain, you have the option of allowing Ziflow to send emails either from the whole domain or only from the root email address (no-reply@subdomain.domain.com [whole domain allowance] vs no-reply@domain.com [only a single email allowance]).
Enable custom domain - if enabled, it validates the certificate, and all entries have passed. If validation passes, Ziflow will refresh, and it will start using your custom domain. All emails will then come from this custom domain, and for system emails, use the “Email from” setting.
Once the domain is successfully verified, the screen should look like this:

Configuring DMARC settings for your Ziflow custom domain
DMARC (Domain-based Message Authentication, Reporting & Conformance) is an email authentication protocol designed to give domain owners the ability to protect their domain from unauthorized use, commonly known as email spoofing.

While setting up a custom domain in Ziflow, when you open the "What do I have to do?" window under the certificate information, you will find all the necessary details related to verifying your domain and setting up DMARC settings.

Here's a breakdown of what DMARC is and how to use it:
What is DMARC?
Email Authentication: DMARC ensures that legitimate emails are properly authenticated against established DKIM and SPF standards and that fraudulent activity appearing to come from domains under the organization's control is blocked.
Reporting: It provides a way for email receivers to report back to the domain owner about emails that pass and fail DMARC evaluation.
Policy: It allows domain owners to instruct email receivers on how to handle emails that fail DMARC checks.
How DMARC Works
SPF Check: Verifies that the email comes from an IP address authorized to send mail on behalf of the domain.
DKIM Check: Ensures that the email has not been altered in transit and was actually signed by the domain.
Alignment: DMARC requires that the domain in the From address aligns with the domain in the SPF and DKIM checks.
Policy Application: Based on the policy specified in the DMARC record, the receiver decides how to handle emails that fail the checks (e.g., quarantine or reject).
How to Use DMARC
To implement DMARC for your domain, follow these steps:
Ensure SPF and DKIM are Implemented:
SPF: Create a DNS TXT record specifying which mail servers are permitted to send email on behalf of your domain.
DKIM: Configure your mail servers to sign outgoing emails with a private key, and publish the corresponding public key in a DNS TXT record.
Create a DMARC Record:
Add a DMARC record to your domain's DNS settings. This is a TXT record that defines your DMARC policy.
The DMARC record includes several tags, the most important of which are:
v: DMARC protocol version (must beDMARC1).p: Policy for handling emails that fail DMARC (none,quarantine,reject).rua: Address to which aggregate feedback reports should be sent.ruf: Address to which forensic reports should be sent (optional).pct: Percentage of emails subjected to filtering (optional, defaults to 100).
Example DMARC record:v=DMARC1; p=reject; pct=100; ri=86400; rua=mailto:<youremail>; ruf=mailto:<youremail>
Monitor and Adjust:
Start with a policy of
noneto monitor your email traffic without impacting email delivery. Review the reports sent to the addresses specified in theruaandruftags to understand who is sending emails on behalf of your domain.Gradually move to stricter policies (
quarantineorreject) once you are confident that legitimate emails are authenticated correctly.
Analyze Reports:
Use the reports to identify sources of unauthenticated emails and take corrective actions (e.g., update SPF records, ensure DKIM signing).
Tools and services are available to help parse and analyze DMARC reports for easier understanding and action.
Example DMARC Record Explanation
"v=DMARC1; p=quarantine; rua=mailto:dmarc-reports@yourdomain.com; ruf=mailto:dmarc-forensics@yourdomain.com; pct=50;"
v=DMARC1: Specifies the version of DMARC.p=quarantine: Instructs email receivers to place emails failing DMARC checks into spam/junk folders.rua=mailto:dmarc-reports@yourdomain.com: Email address to receive aggregate reports.ruf=mailto:dmarc-forensics@yourdomain.com: Email address to receive forensic reports (optional).pct=50: Only 50% of emails are subjected to the DMARC policy.
By following these steps and continuously monitoring and adjusting your DMARC settings, you can significantly enhance the security of your domain against email spoofing and phishing attacks.